back to the probe overview

FRAP Pro – Transient flow measurement systems

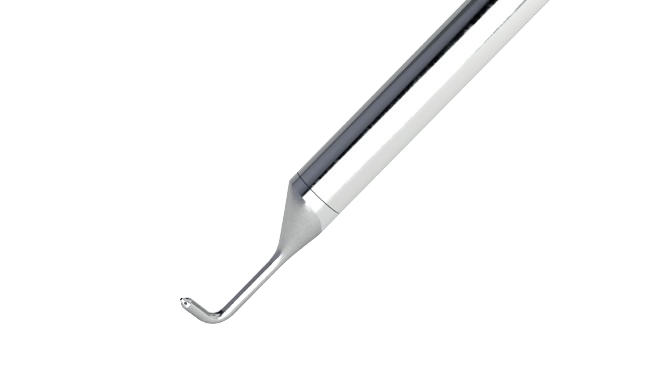
The transient probes from Vectoflow combine the robustness of pressure probes (e.g. 5-hole probe) with a high temporal resolution of the pressure signal. Depending on the probe geometry, frequencies in the kHz range can be measured.

DATA SHEET Download
DATA SHEET Download

Gallery

Product details

The transient probes from Vectoflow make it possible to record high-frequency flow phenomena in the kHz range, not just with regard to one measurement variable but with regard to all measurement variables that are also available with a conventional multi-hole probe: velocities, flow angles, total and static pressure, Mach number and density . In order to achieve this high temporal resolution, the pressure sensors must be located as close as possible to the probe head in order to keep the modulation of the pressure fluctuations in amplitude and phase as low as possible. In addition, this modulation must be determined experimentally, which is done at Vectoflow using a specially developed frequency calibration test stand. Of course, all the advantages of stationary probe hardware are also available for the non-stationary probes, such as the high geometric flexibility and increased robustness of the probes, see also geometry and material combinations. These advantages are made possible with the help of the optimized additive manufacturing process.
Vectoflow offers the following solutions for measuring unsteady flow phenomena:

  • Complete system for measuring unsteady flow phenomena
  • Probes with embedded pressure sensors (higher frequency response) or conventional probes with external pressure sensors
  • Frequency calibration of each pressure channel
  • Data acquisition hardware
  • Software for data analysis

It is also possible to synchronize the measurement with several measuring systems or to trigger measurements using a trigger signal.

Specifications

Number of pressure holes

according to customer requirements (standard: 5)

Length Max.

according to customer requirements

Tip diameter min.

Standard 3-4 mm (from 1 mm possible with the help of “micro-printing”)

Tip geometry

Cone, ball, and upon request

Material

Stainless steel, titanium, Inconel, plastics

Recording

Square, hexagon, flattened cylinder or upon request

Referenz

Reference surface normal to the Z axis

Temperature range

up to 100°C (higher with water cooling)

Measuring accuracy angle

<±1°

Angle measuring range

± 60° (depending on number of holes)

Speed ​​measurement range

from 3 m/s to Mach 1

Measuring accuracy speed

<1 m/s or <1% FS, whichever is greater

Static ring

Optional

Our areas of application

Our industry solutions

Aerospace

More

UAV

More

Automotive

More

Wind power

More

Research

More

Turbomachinery

More

Flow probes

A selection of our customers
Individual request
Interest? Get in contact with us now.

Contact

Zeppelinstr. 16
82205 Gilching
Germany
+49 89 124149570 Email info@vectoflow.de
© Copyright 2024 - Vectoflow GmbH - All Rights Reserved
chevron-leftchevron-right
linkedin Facebook Pinterest youtube rss Twitter Instagram facebook-Blank rss blank LinkedIn-blank Pinterest youtube Twitter Instagram